How to Use the Mid Side Recording Technique Like a Pro
In this post, we’re exploring into a classic yet often underused recording technique — Mid Side recording, also known as the MS Mic Technique or the Blumlein technique. I recently used this method during a session with SGM Events, part of Sleeping Giant Music, and it reminded me just how powerful and versatile this technique is for capturing rich, stereo audio.
Why I Chose the MS Technique
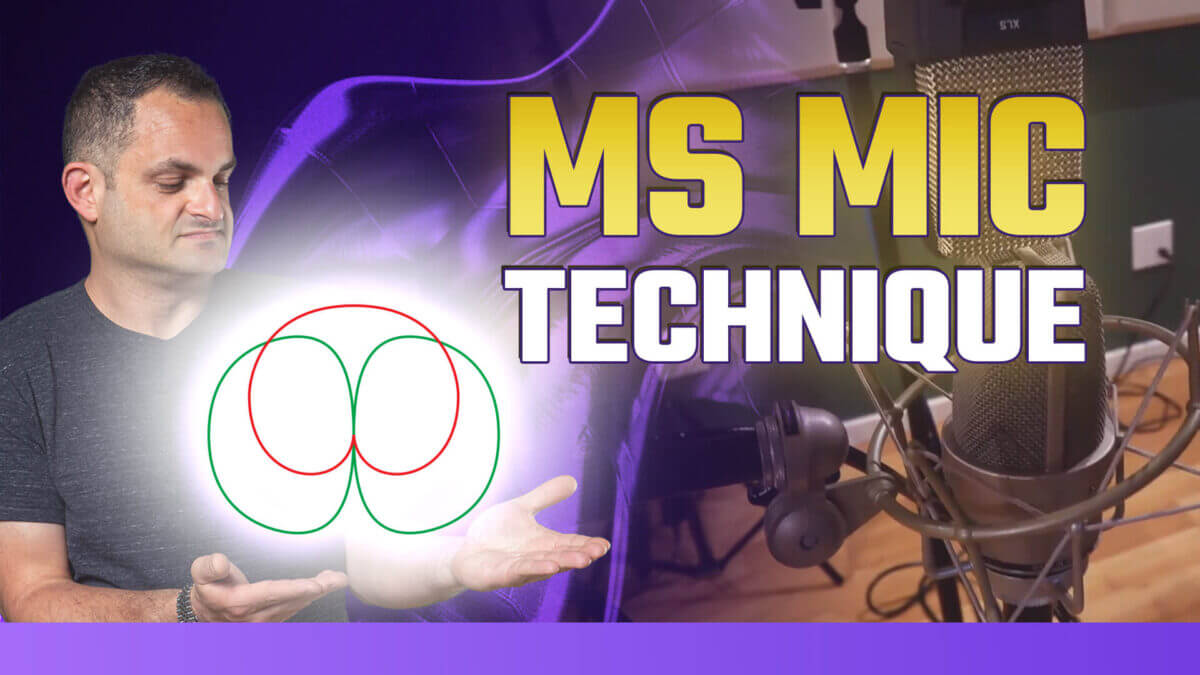
The session called for a clean and spatially dynamic sound, which made the Mid Side setup a perfect fit. It’s a two-mic configuration — one cardioid mic pointed directly at the sound source (the “mid”), and one figure-8 mic placed sideways (the “side”). The beauty of this setup lies in its ability to capture a mono-compatible center image, while still allowing for adjustable stereo width during mixing.
I started off by explaining what led me to use this setup and walked through the situation behind the session. It’s always valuable to understand why a particular mic technique is chosen — especially if you’re balancing sound quality with logistical needs like mic availability or room acoustics.
Setting It Up in the Studio
From there, I brought the concept into Pro Tools and showed how to configure this setup correctly. I broke down the technical side of decoding the side mic, duplicating it, inverting one channel’s polarity, and panning them to create the stereo spread. This may sound complex, but once you get the workflow down, it becomes second nature — and the sonic results are well worth the effort.
You get complete control over the stereo width in post-production, which is one of the biggest benefits. Whether you want something super tight or more open and immersive, MS recording gives you that flexibility without compromising the integrity of your center image.
Why It Matters for Music Producers
For producers looking to expand their recording skillset, understanding the Mid Side mic technique is a game-changer. It’s especially useful for acoustic recordings, vocals, live performances, or ambient room textures. You don’t need a massive mic locker to achieve great stereo sound—you just need to know how to work with what you’ve got.
The best part? It gives you options. You’re not locked into the stereo image you captured during tracking. You can shape it later during mixing, which is huge when you’re working to fit elements into a dense production or create space around key parts of your track.
A Few Key Takeaways
Mono compatibility is preserved through the mid mic.
Stereo width is adjustable after recording.
Works well with a wide range of instruments and voices.
Adds depth and space to your recordings without needing lots of mics or
complex gear.
If you’ve never tried Mid Side recording, now’s the time to experiment. It’s simple, effective, and opens up a whole new level of stereo control for your recordings. Whether you’re a seasoned engineer or a music producer exploring recording techniques, this one’s worth adding to your toolkit.
If you’ve used this technique or plan to, I’d love to hear how it’s worked for you— drop a comment or hit me up with your experiences. And as always, make sure to subscribe to Distinct Mastering for more practical tips on music production, mixing, mastering, and more.
Links & Resources
