
Ableton Live's Spectral Resonator: What Makes It Special Blog Post
Ableton Live's Spectral Resonator: What Makes It Special
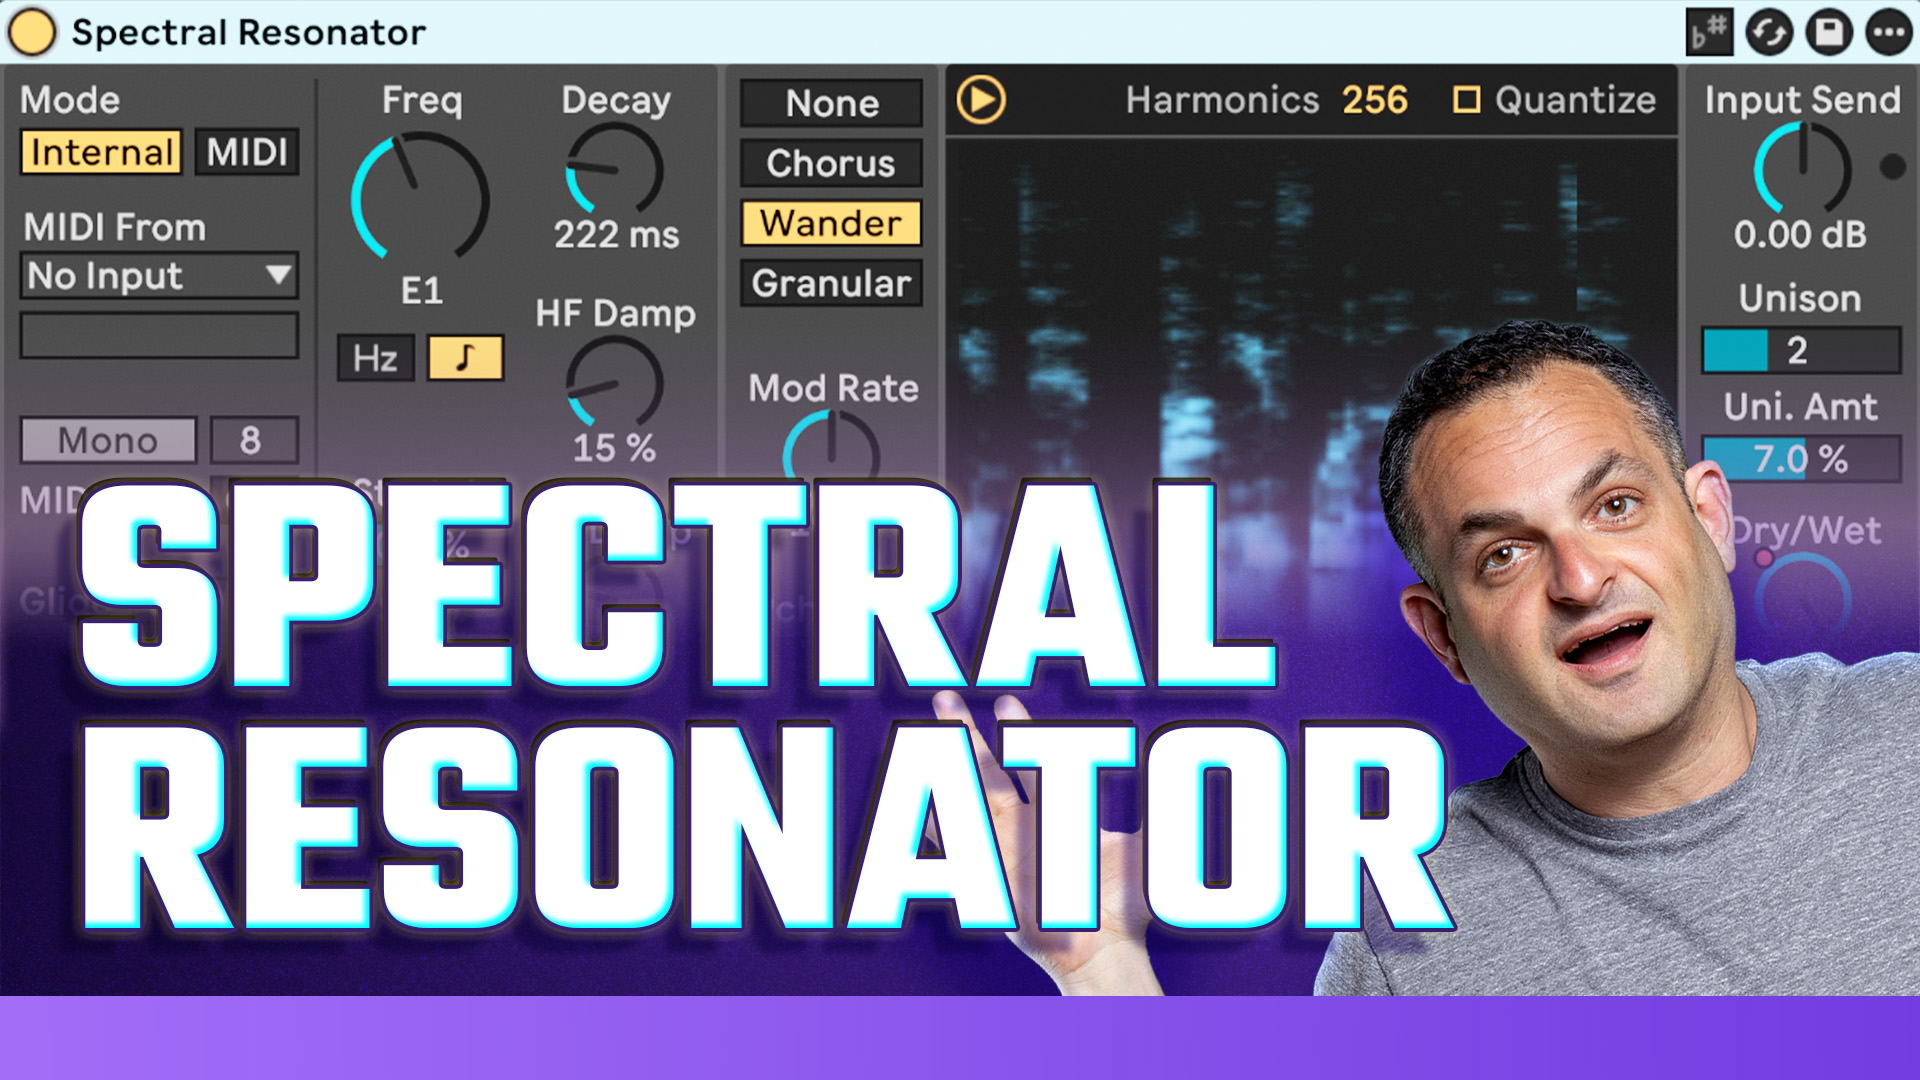
Ableton’s Spectral Resonator isn’t just another stock effect—it’s a sound design powerhouse. Unlike traditional reverb or chorus plugins, it lets you split your audio into hundreds of micro-bands, then “resonate” them in harmony with your chosen pitch. That means you can tune any audio source (especially vocals) to the key of your track, shift harmonics, add subtle to wild modulation, and even use MIDI to “play” chords straight into the effect.
Key features I love:
Frequency and scale-aware tuning: Match the effect to your song’s key for musical results.
Modulation types: Add movement with chorus, wander, or granular modes.
Pitch shifting and decay: Create anything from tight metallic extra depth, to huge ambient pads.
Unison and stereo spread: Get that modern, ultra-wide vocal sound that still sits in the mix.
MIDI input and gating: Make the FX melodic or rhythmically animated—great for breakdowns and transitions.
Step-by-Step: My Workflow on Rebecca’s Vocal
Here’s exactly how I approached Rebecca’s vocal in “Lick n Dip”:
1. Set the Key and Scale:
The outro vocal is in E♭ minor. I set Spectral Resonator’s frequency (with scale mode) to D# to match—ensuring every resonance worked musically.
2. Adjust Decay and Pitch:
Brought up the decay for a long, lush trail. Played with pitch offsets for subtle harmony and variation.
3. Explore Modulation:
Tested different modulation modes. “Wander” and “Chorus” brought beautiful shimmer and width—much more organic than traditional chorus.
4. Dampen Where Needed:
Used high and low dampening to keep extreme frequencies under control. This avoids harshness or boominess as the effect ramps up.
5. Automate Dry/Wet:
Instead of the effect being obvious from the start, I automated the dry/wet—so the vocal moves from intimate to airy just as the music transitions out.
6. Apply Unison:
Dialed in the unison knob for extra thickness—letting the processed sound “wrap” around the original vocal line.
7. In Context:
Listened to the effect in the full mix, making sure Rebecca’s lyric and emotion stayed present while adding the movement, space, and atmosphere I craved.
The result? The vocal literally feels like a robot floating over the instrumentation but never getting lost—proof that stock plugins can go way beyond basics if you get hands-on.
Other Creative Uses
Spectral Resonator works on more than just vocals. In this same session, I ran hi-hats and synth loops through the effect, dialing different scales and pitches for instant melodic textures—even random percussion grooves took on melodic, ambient qualities.
Pro tip: Right-clicking a melody and converting it to MIDI, then running that MIDI into Spectral Resonator, opens up playable, evolving FX you can automate or play live.
Takeaways & Personal Advice
Always match the resonator’s frequency/scale to your key for best musical results.
Modulation and unison are your best friends for width and motion—use sparingly for clarity.
Automate parameters like decay and dry/wet to keep the effect dynamic and engaging.
Try Spectral Resonator on unexpected sources—percussion, guitar, even full mixes—for inspiration.
If you want to hear the exact result, check out “Lick n Dip” on NOS Recordings—it’s streaming now. For a full video walkthrough (including extra sound design on hats and synths), subscribe to my YouTube for new breakdowns every week.
Got questions about Spectral Resonator, or want more in-depth tutorials? Drop a comment or hit me up—I’m always up for a sound design conversation.
Keep experimenting and leveling up your sound—see you in the next post!